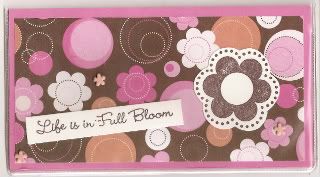
I made these checkbook covers for a swap that I am in and I noticed that there are no tutorials. So here's the one I made:
Supplies Needed:
1- 6 3\4 x 61/4 inch piece of coordinating cardstock
2- 3 x 6 inch pieces of patterned paper
scrap of white cardstock to stamp image onto
stamps and ink of your choice
scissors
adhesive (I used Duck Brand Double Stick Tape)
paper trimmer
vinyl checkbook covers (I bought mine for 80 cents at http://www.cistamps.com )

Step 1:
Cut your patterned paper and cardstock to specified sizes
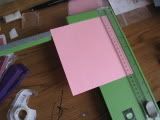
Step 2:
Glue the 6 x 3 inch pieces of paper to the 6 1/4 x 6 3/4 inch piece
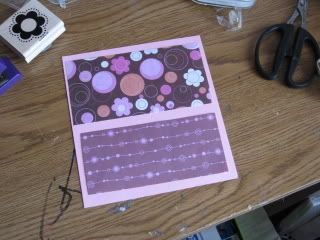
Step 3:
Stamp out the images that you would like to put on your checkbook cover. Cut the images out.
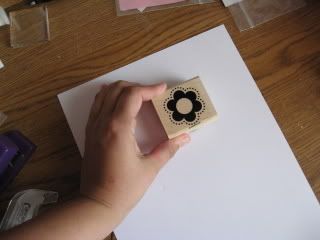
Step 4: Attach the images and add any embellishments now
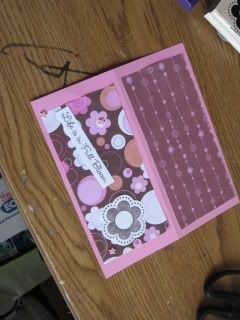
Step 5: Put entire piece in vinyl cover and fold in half. Viola!

4 comments:
Beautiful idea... I may snag it and do something similar for a homemade with love series I do (linking you, of course) -- is that okay?
Where did you purchase the check book covers???
omg this is adorable! Too cute! Love the design.
thanks for having me in your list of blogs you love - made my day to find you!
I seldom leave comments on blog, but I have been to this post which was recommended by my friend, lots of valuable details, thanks again.
Cool post! How much stuff did you have to look up in order to write this one? I can tell you put some work in.
Post a Comment